Seeing yourself in this moment

Year’s ago, I read a study on workplace problem solving. The general idea was that people who were asked to identify many different parts of themselves — the conscientious worker part, the dedicated partner part, the caring nurturer part, the creative part, the silly part, etc. — prior to being presented with a problem were better at solving it than people who were asked only about their role at work.

I think about this idea all the time. That when we are able see ourselves in all our multi-dimensional brilliance, we are better equipped to handle whatever the world throws at us, we have more of our tools at our disposal. It’s what I was thinking about when I created this page, which is dedicated to capturing a vivid image of yourself right now so that you can carry it with you into your day and the adventures that await you.


The Ways in Which You Are Strong, Capable and Connected - New Journal Pages

I’ve just posted a new set of printable journal pages over at the shop. It’s full of things I would love for each of us to know about ourselves:

…that we are brave enough to pursue our dreams in spite of our fears;

…that we can forgive and be forgiven, to lighten our loads just a little and make room for new adventures;

…that some part of each of us shines brightly in every moment, even this one right now;

…that our goals are within our grasp, even in the face of daunting setbacks;

…that our well being is worthy of our time and effort; and

…that we are not alone.

The first page in the set is free for you to try. You can click here or on the image below to download it. You’ll find the rest over at my Colourful Words page.

As always, from my resilient, dreaming heart to yours, best wishes and happy journaling. xoxo


Journaling forgiveness

09-07-2019-Forgiven-Printable-Journal-Page-In-Progress-by-Christie-Zimmer.jpg

This one’s almost ready to go. It’s framed in terms of letting go, recognizing growth and moving forward. Reflection in action. I’m hoping it can be used in two ways — to reflect on forgiving others and, perhaps more importantly, on forgiving ourselves. An opportunity to lighten the load a bit, to make room for new adventures.


New Pages in Progress

09-07-2019-New-Journal-Pages-in-Progress-by-Christie-Zimmer.jpg

A peek at some early work on a new set of word-themed pages. For now, the words are: better, essential, vivid, brave, forgiven, and cared for. I’ve been thinking a lot about compassion directed inward — about recognizing courage, taking time to take care, and letting go of the past. It's slow going, but I think that's just part of the process. It takes as long as it takes.


How to Use Your Journal to Write a Thank You Note

This cheerful exercise brings together some of journaling’s best features:

  • Thinking on paper. By composing a thank you note using your journal, you can take a moment to think about someone’s generosity or kindness and what it means to you.

  • Memory keeping. You’ll create a record of the moment or action for which you’re thankful and that will help you remember it.

  • Transforming thoughts into action. This is where the power of journaling really shines through. It gives you an easy way not only to recognize your gratitude, but also to act on it.

All it takes are a few simple, specific steps.

Starting in your journal, write your responses to these five prompts:

  1. One person you’d like to thank.

  2. One thing you’d like to thank her or him for.

  3. Two details to describe the thing for which you’re thankful.

  4. One way in which it made a difference to you.

  5. One lovely thing about the person you’re thanking.

Next, select a card or sheet of note paper and turn your prompt responses into a thank you note. Here’s one way you might write it:

Dear (1.),

Thank you so much for (2.)! I love (3.).

It means so much to (4.). You’re (5.)!

Love,

The only thing left to do is sign your name and you’re finished!

In a short sequence of thoughtful steps, you’ve documented a meaningful moment in two ways — in your journal for you to keep and in a note expressing your gratitude to send to someone who will surely be thrilled to receive it.

To make it even easier, I’ve created a new printable journal page that includes all the prompts I listed above. You can download it by clicking here or on the image above. As always, the pdf file includes four page sizes: letter, half letter, A4, and A5.

If you’d like to see more, you’ll find a variety of 10 Minute Journal Pages, free sample pages, and much more in my printables shop.


Thinking Through a New Journal Page

24-06-2019-Map-It-Out-Journal-Page-in-Progress-by-Christie-Zimmer.jpg

I have an idea for a new journal page (or set!). It may or may not work out in the end, but I thought it might be fun to think it through with you here on the blog this week.

The page started with the idea of a map. Specifically, I was thinking of those lovely illustrated city or country maps featuring a place and a collection of its streets and landmarks. They’re not drawn to scale, but to give the viewer a sense of the place. I love how sweet they are — full of history or natural beauty, or sometimes the illustrator’s memories of places she visited while she was there.

I wondered if that kind of map might make a good journal page — if the main streets could be a way to represent themes or lists, if intersections could represent relationships between ideas, and if important details could be shown on the map as landmarks. I wondered if a sort of illustrated map/journal page hybrid could be a creative way to explore everyday experiences and seek out new insights.

The result is what you see above. It’s as far I’ve gotten. Now that I see it down on paper, I don’t think it’s quite there yet. It’s not obvious how to approach the page and, when finished, I’m wondering if the map works to clarify ideas in a meaningful way.

I think I’ll step away from it for a while, but I’ll be back here tomorrow with new eyes and a fresh perspective. In the meantime, what do you think?


10 Minutes to Tackle the Impossible - New Printable Journal Page

It’s the kind of sunny Friday afternoon when anything seems possible, so I turned last week’s post on doing the impossible into a new printable journal page. You can download it by clicking right here or on the image above.

Let’s all go out this weekend and take small, but mighty steps toward achieving the impossible.

P.S. As always, the pdf file includes four page sizes: letter, half letter, A4, and A5.

P.P.S. If you’d like to see more, you’ll find a variety of 10 Minute Journal Pages, free sample pages, and much more in my printables shop.


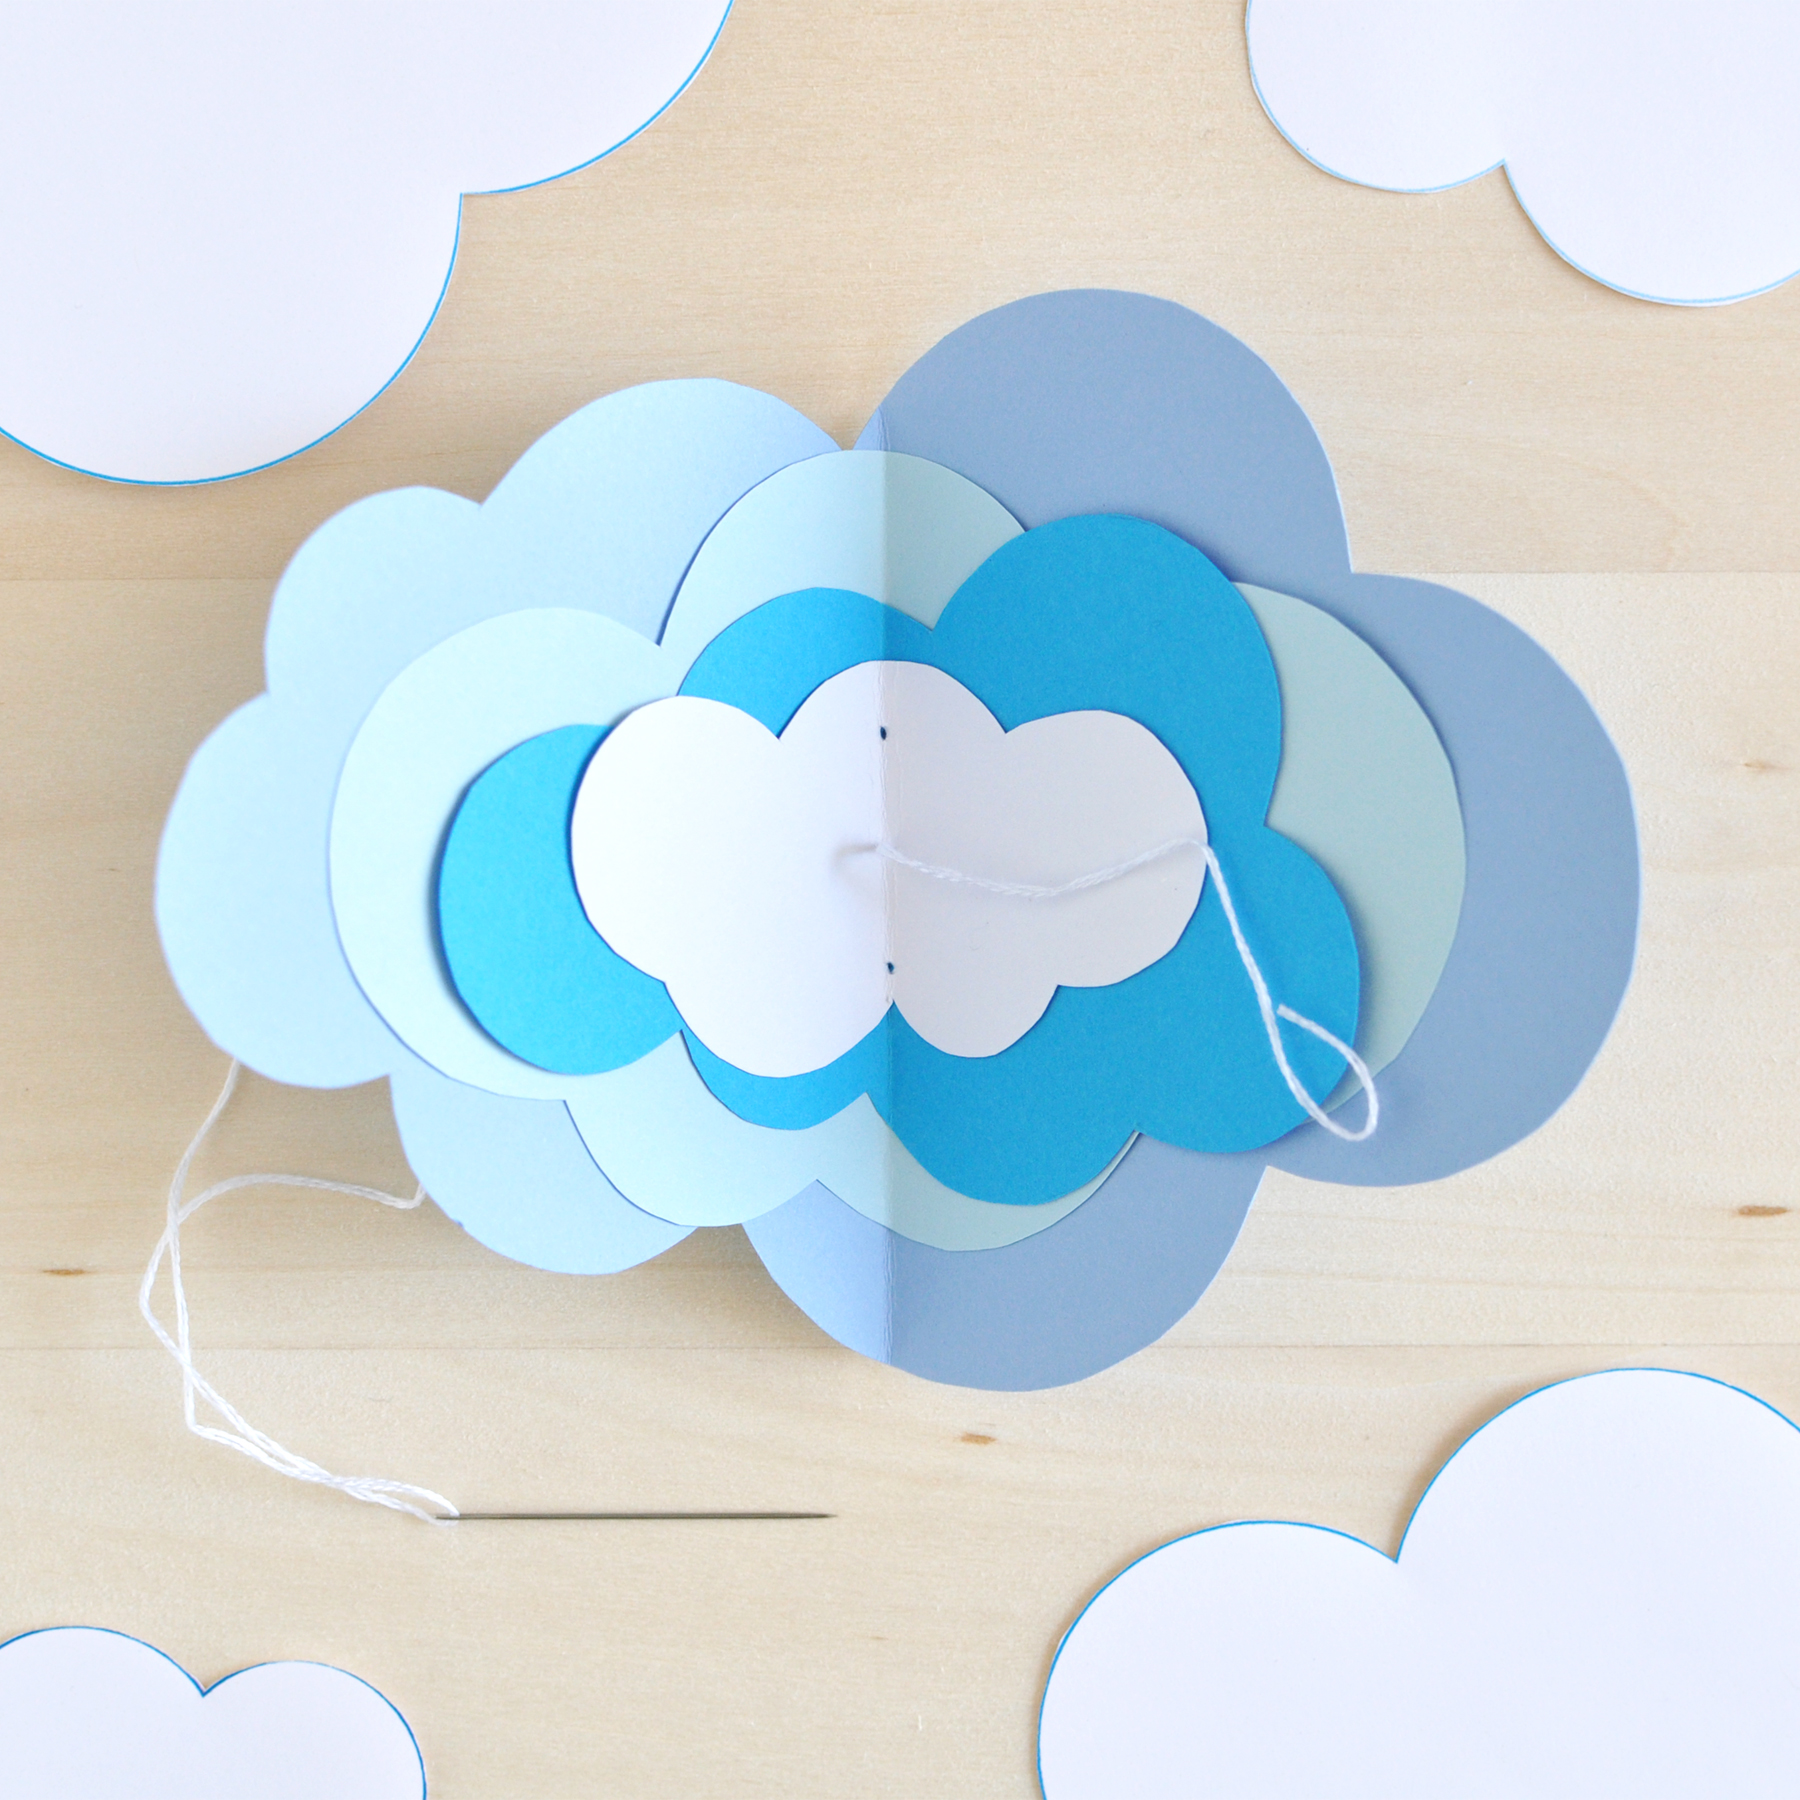
Make Your Own Mini Cloud Journal

This little journal isn’t exactly practical. It probably isn’t very sensible either. It’s also lopsided from some angles and each time I make a new one, it’s never quite the same as the last.

But everything about it makes me smile — the cloud-shaped pages, the blue on blue on blue, and the lovely little bow right in the middle. It’s good for sky’s-the-limit brainstorming and head-in-the-clouds musings. It’s also suitable for noting gratitude, good things, and madcap adventures. (I’ve even done a little something with it that you might not expect. I’ll show you in just a moment.)

If you’d like to make your own cloud journal, I’ve whipped up a quick printable and tutorial for you — for moments when you’re feeling a little impractical or un-sensible and a regular rectangular journal just won’t do.

To begin, you’ll find my mini cloud journal template right here or by clicking on the image above or below. (The file includes two page sizes. The first page is letter sized. The second page is A4.)

You’ll also need extra paper to make your cloud pages, a pencil, scissors, something pointy for poking holes (I forgot to include my little sewing awl in the image below, but you’ll see it further down), a sewing needle, and about a 6-8 inch length of thread (I used embroidery floss).

Start by cutting out the cloud templates (image below, left) and tracing them onto your selected cloud paper. I cut out one of the largest clouds and two of each of the remaining clouds (image below, right).

Here’s the unexpected part. After folding each cloud in half individually — I just eyeballed the halfway point and went for it — I arranged the clouds from largest to smallest on the inside of the journal (image below, left), then did the same on the outside (image below, right), so that the largest cloud is the fourth cloud in a stack of seven. This way, there are tiny clouds on the inside and outside of the journal.

Now it’s time to poke the holes and sew the journal together. The red handled item pictured below is the awl I used to make the holes. Again, I estimated a nice middle spot and poked the first hole, then one more above and below (image below, top left).

To sew the binding:

  1. Holding the journal open in front of you, pass your needle and thread through the front middle hole, leaving a tail that you’ll later use to tie a small knot and bow. (image below, top right).

  2. From the back of the journal, pass the needle through the top hole to the front of the journal and then down, through the bottom hole, to the back of the journal. Make sure your tail is to one side of the long stitch you’ve just made (image below, bottom left).

  3. From the back, pass your needle back through the middle hole, this time coming through the front on the side of your long stitch opposite to the tail (image below, bottom right).

Separate your needle from the thread and tie a knot in your thread on top of the long stitch in your journal’s binding. Then tie a lovely little bow and snip the ends of the thread.

That’s it! You’re finished!

I hope your time spent in the clouds while making this little journal inspires all sorts of new sky’s-the-limit adventures.

As always, best wishes and happy journaling!

Make-Your-Own-Mini-Cloud-Journal---Image1.jpg