10 Minutes to Tackle the Impossible - New Printable Journal Page

It’s the kind of sunny Friday afternoon when anything seems possible, so I turned last week’s post on doing the impossible into a new printable journal page. You can download it by clicking right here or on the image above.

Let’s all go out this weekend and take small, but mighty steps toward achieving the impossible.

P.S. As always, the pdf file includes four page sizes: letter, half letter, A4, and A5.

P.P.S. If you’d like to see more, you’ll find a variety of 10 Minute Journal Pages, free sample pages, and much more in my printables shop.


Make Your Own Mini Cloud Journal

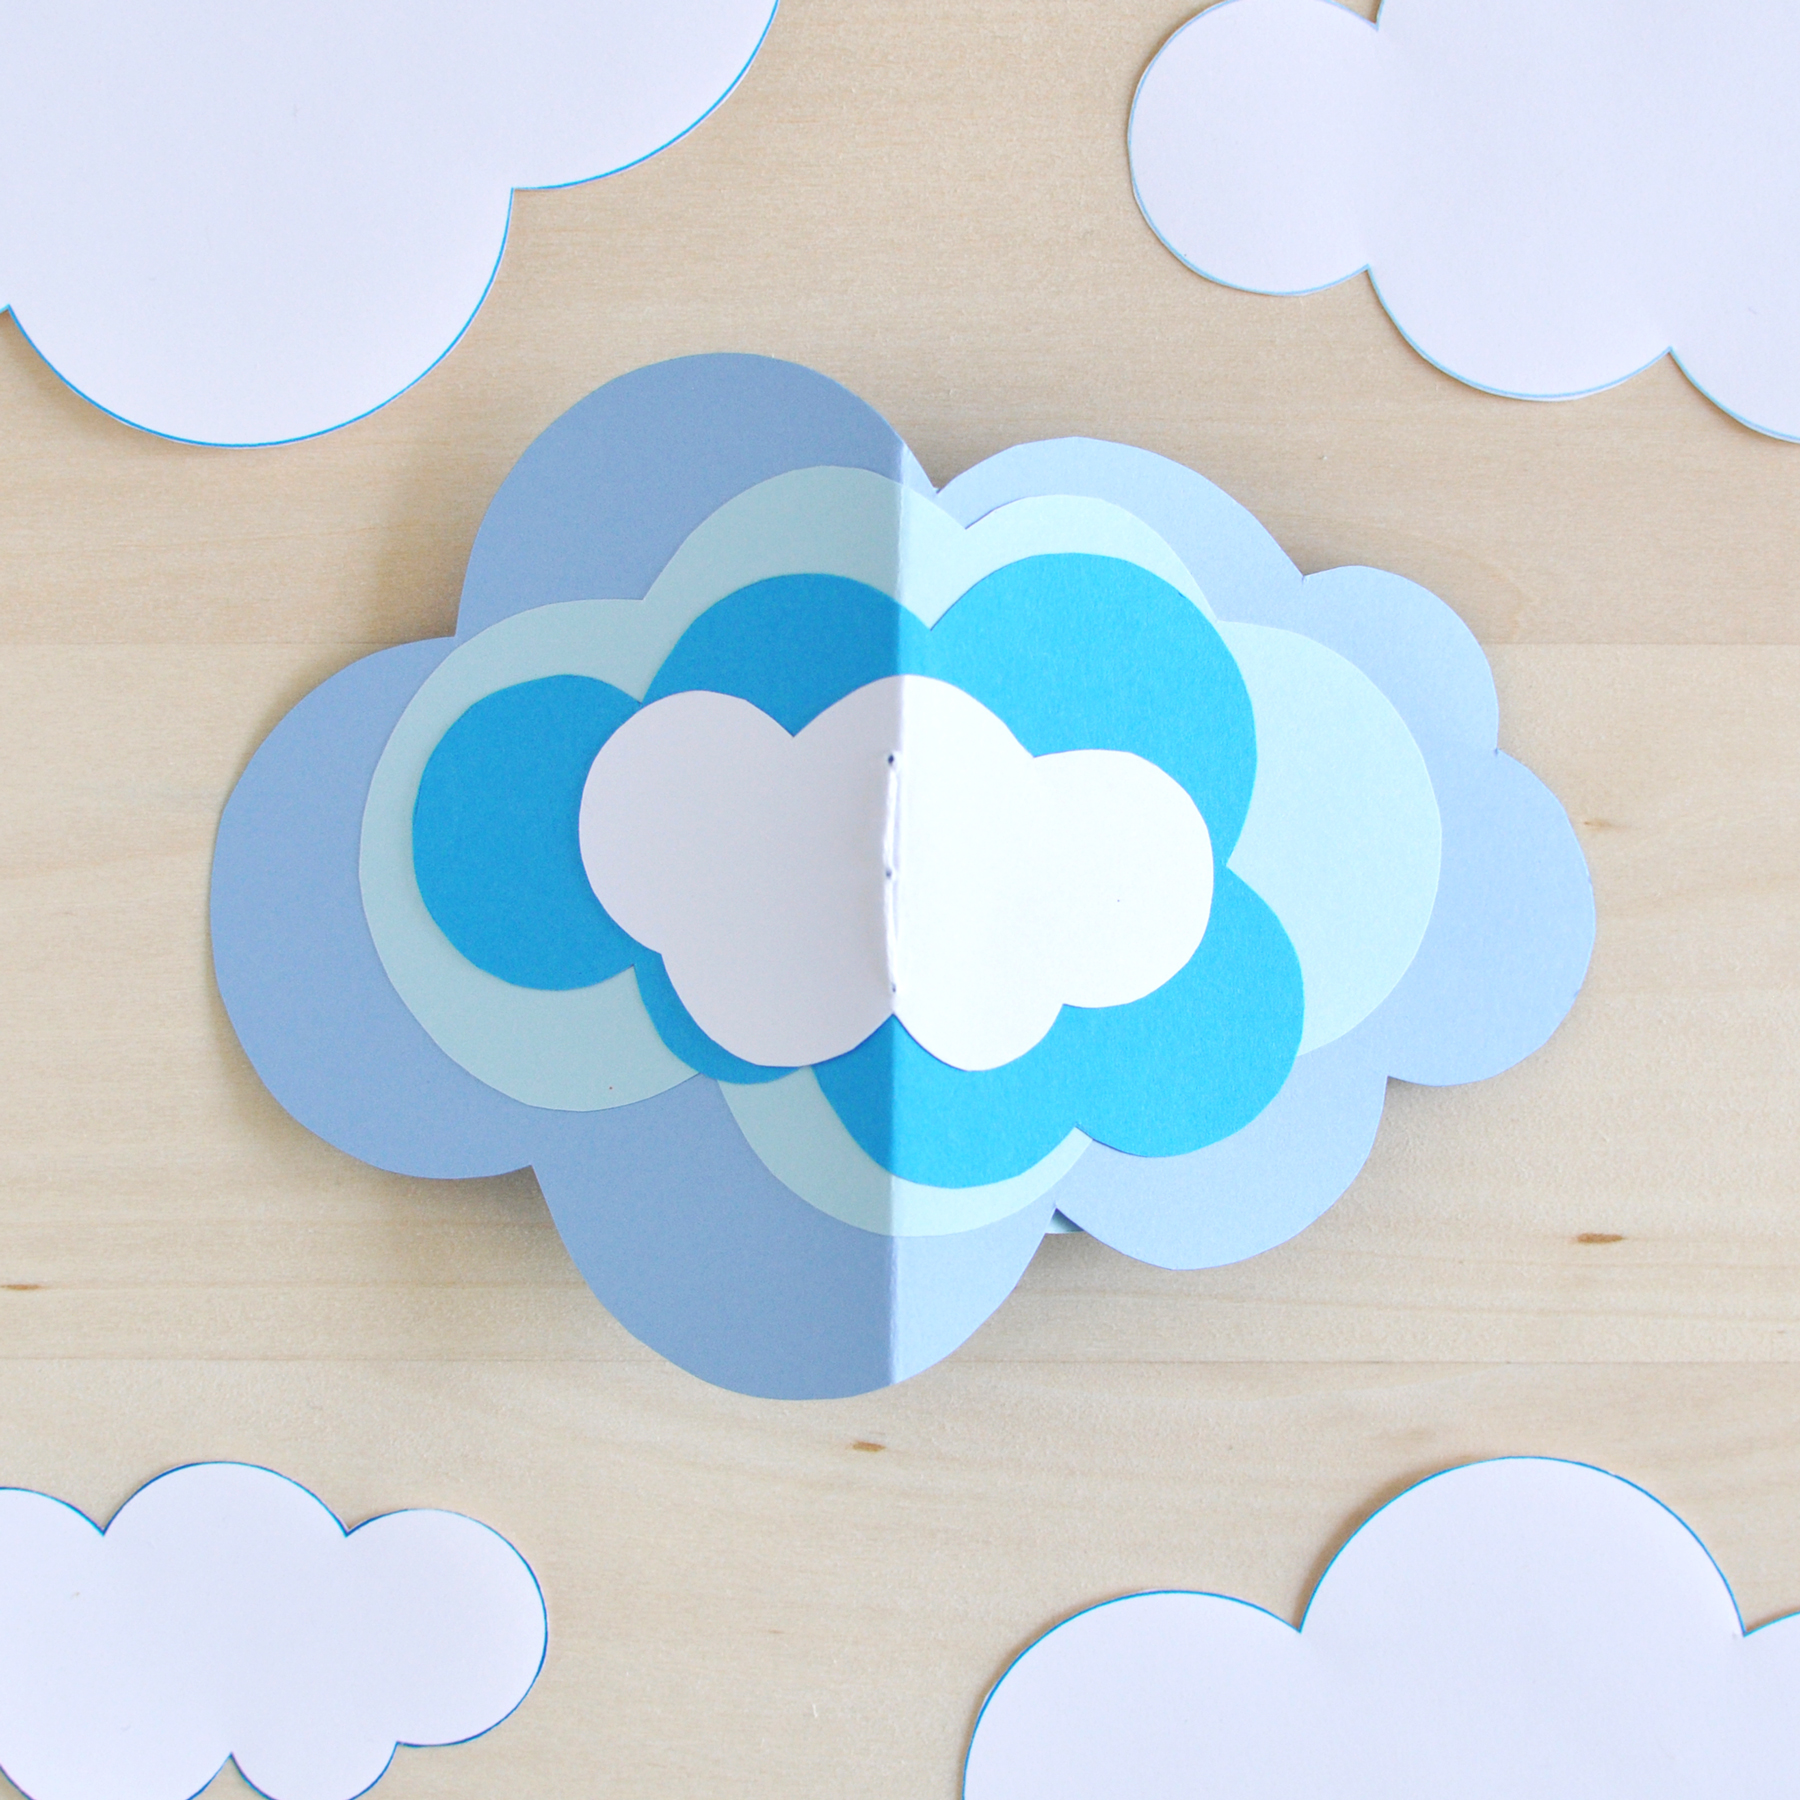
This little journal isn’t exactly practical. It probably isn’t very sensible either. It’s also lopsided from some angles and each time I make a new one, it’s never quite the same as the last.

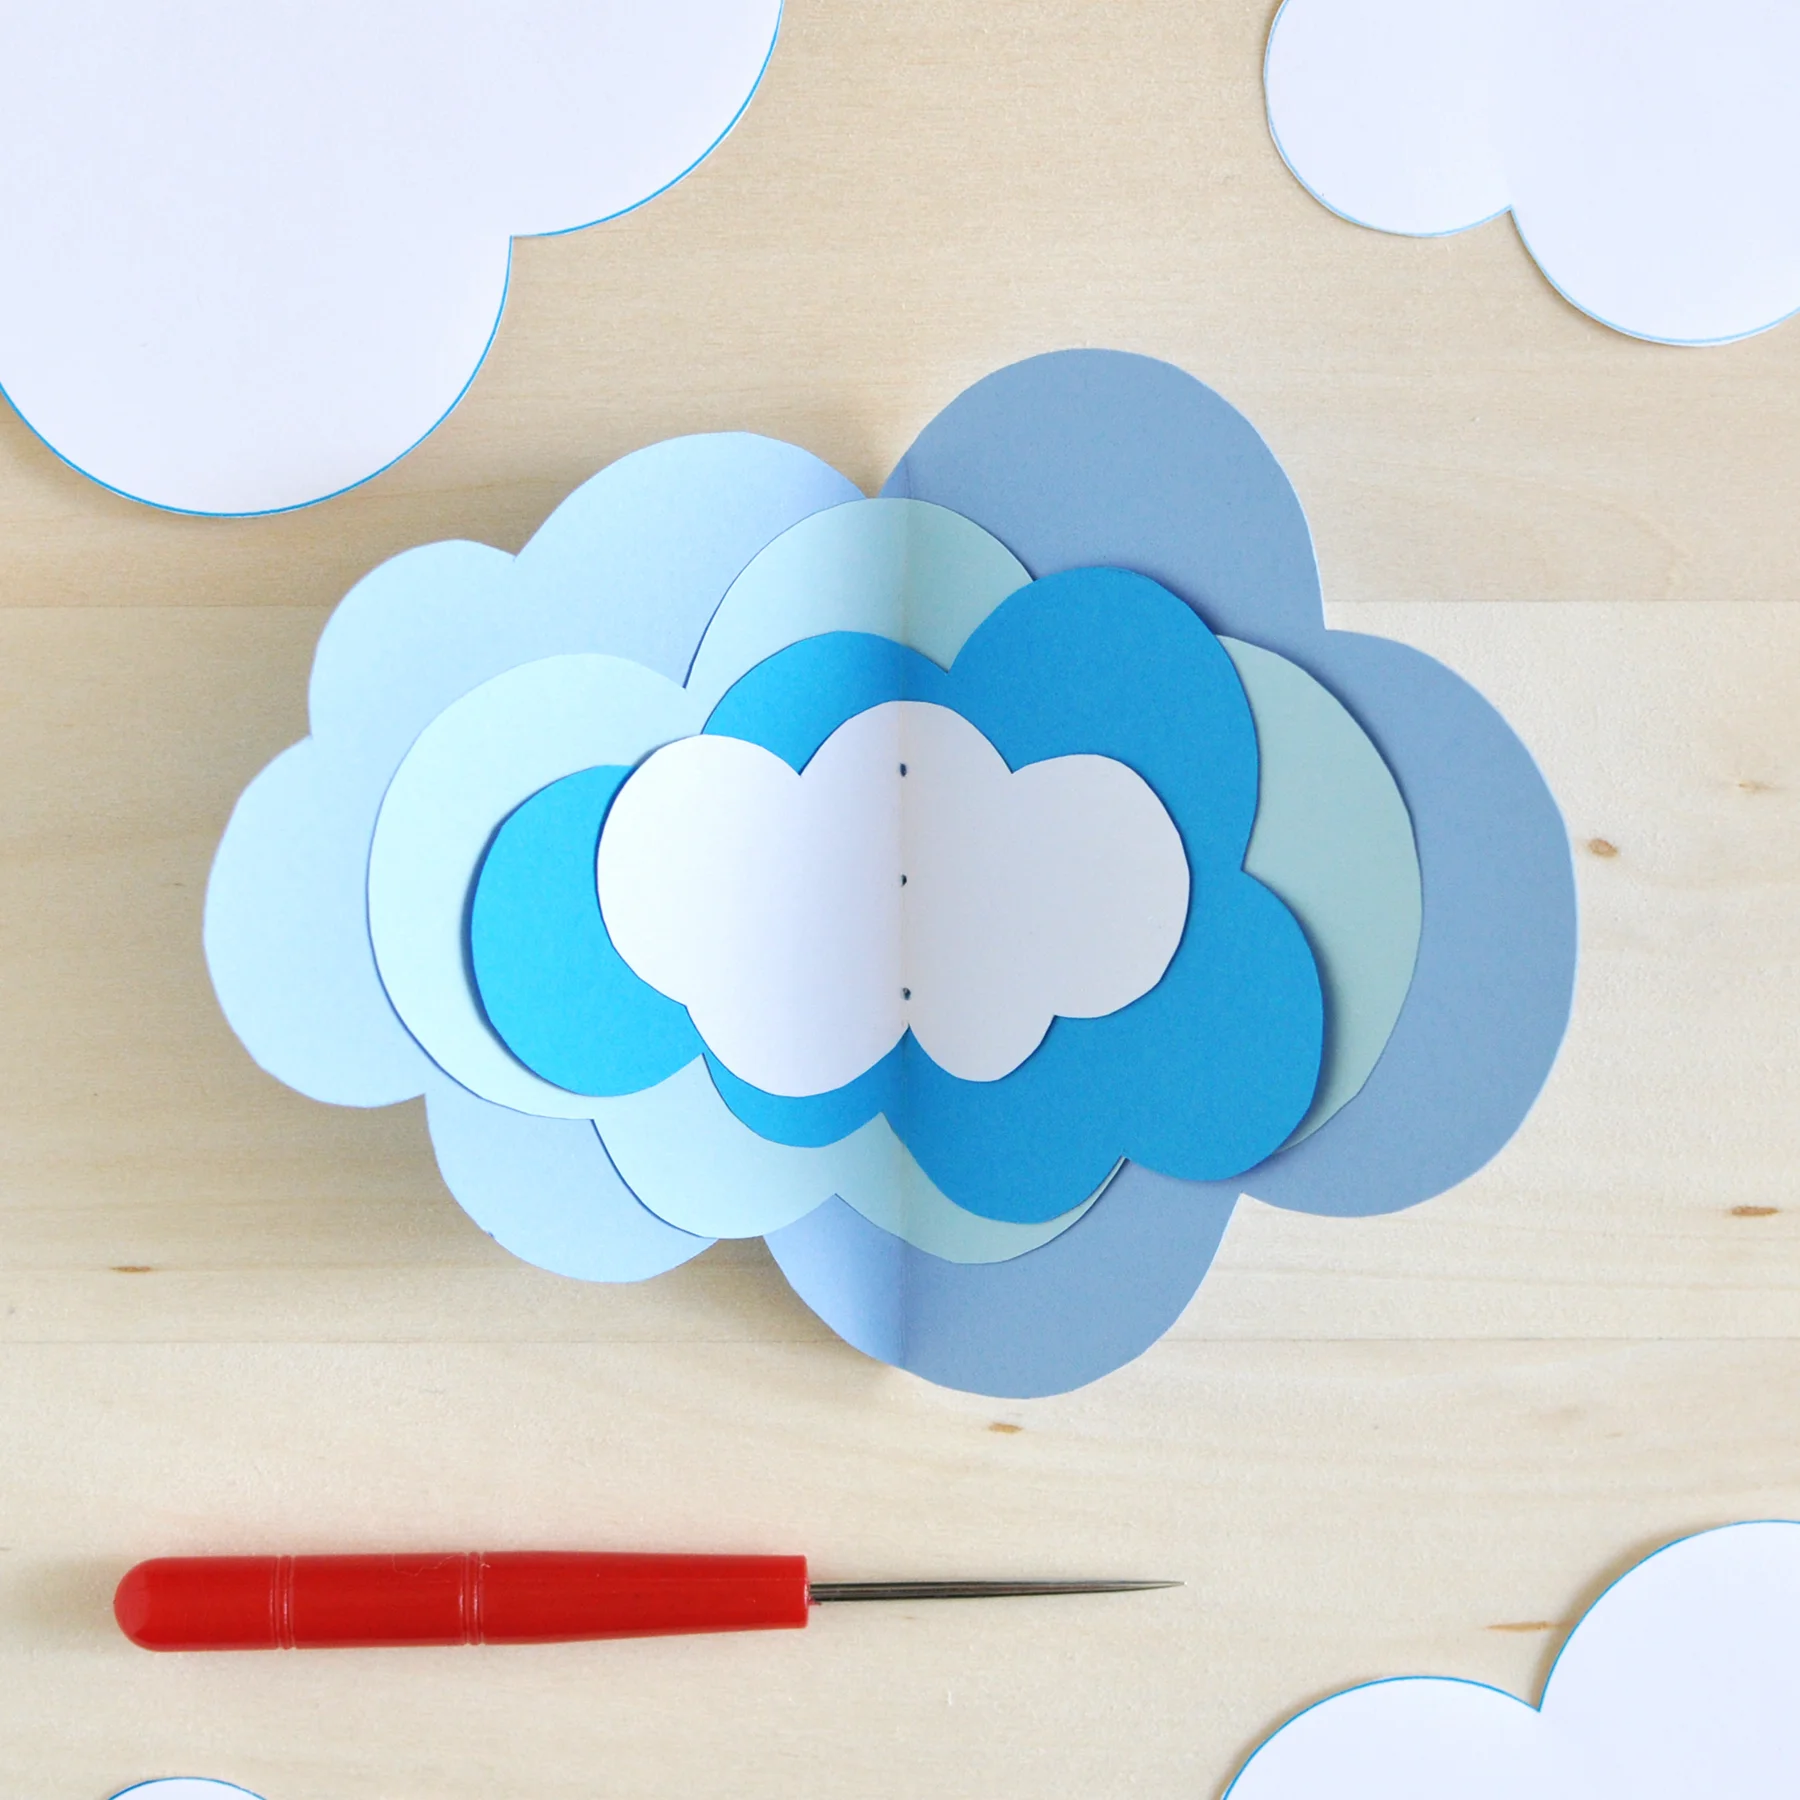
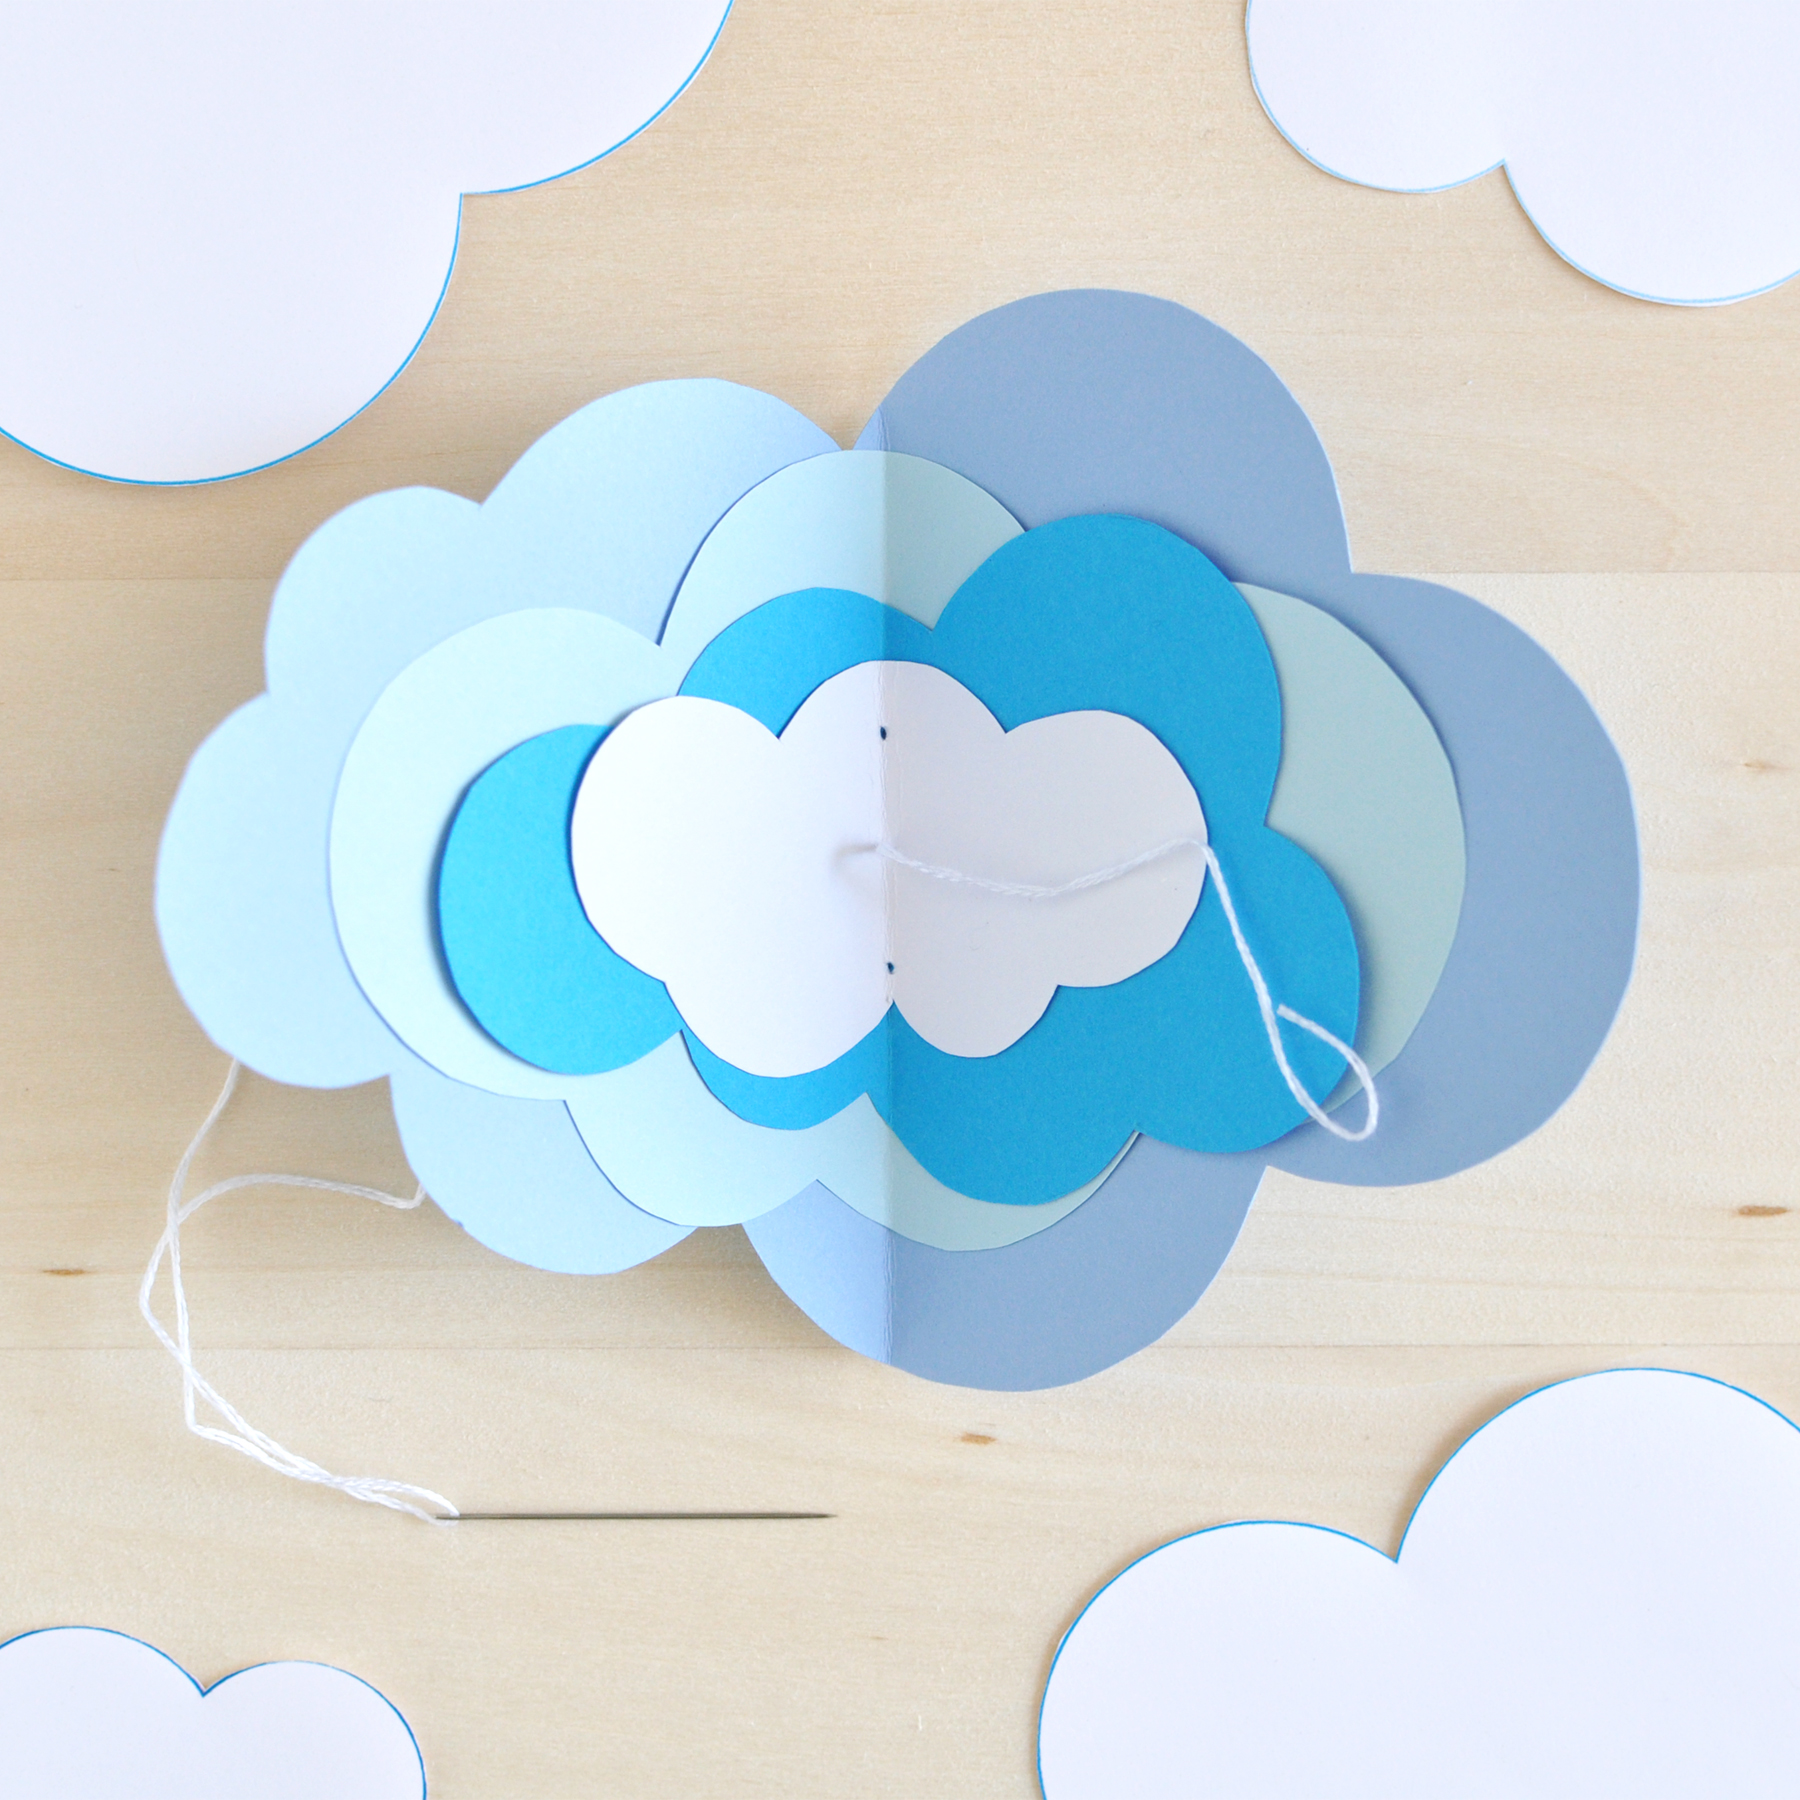
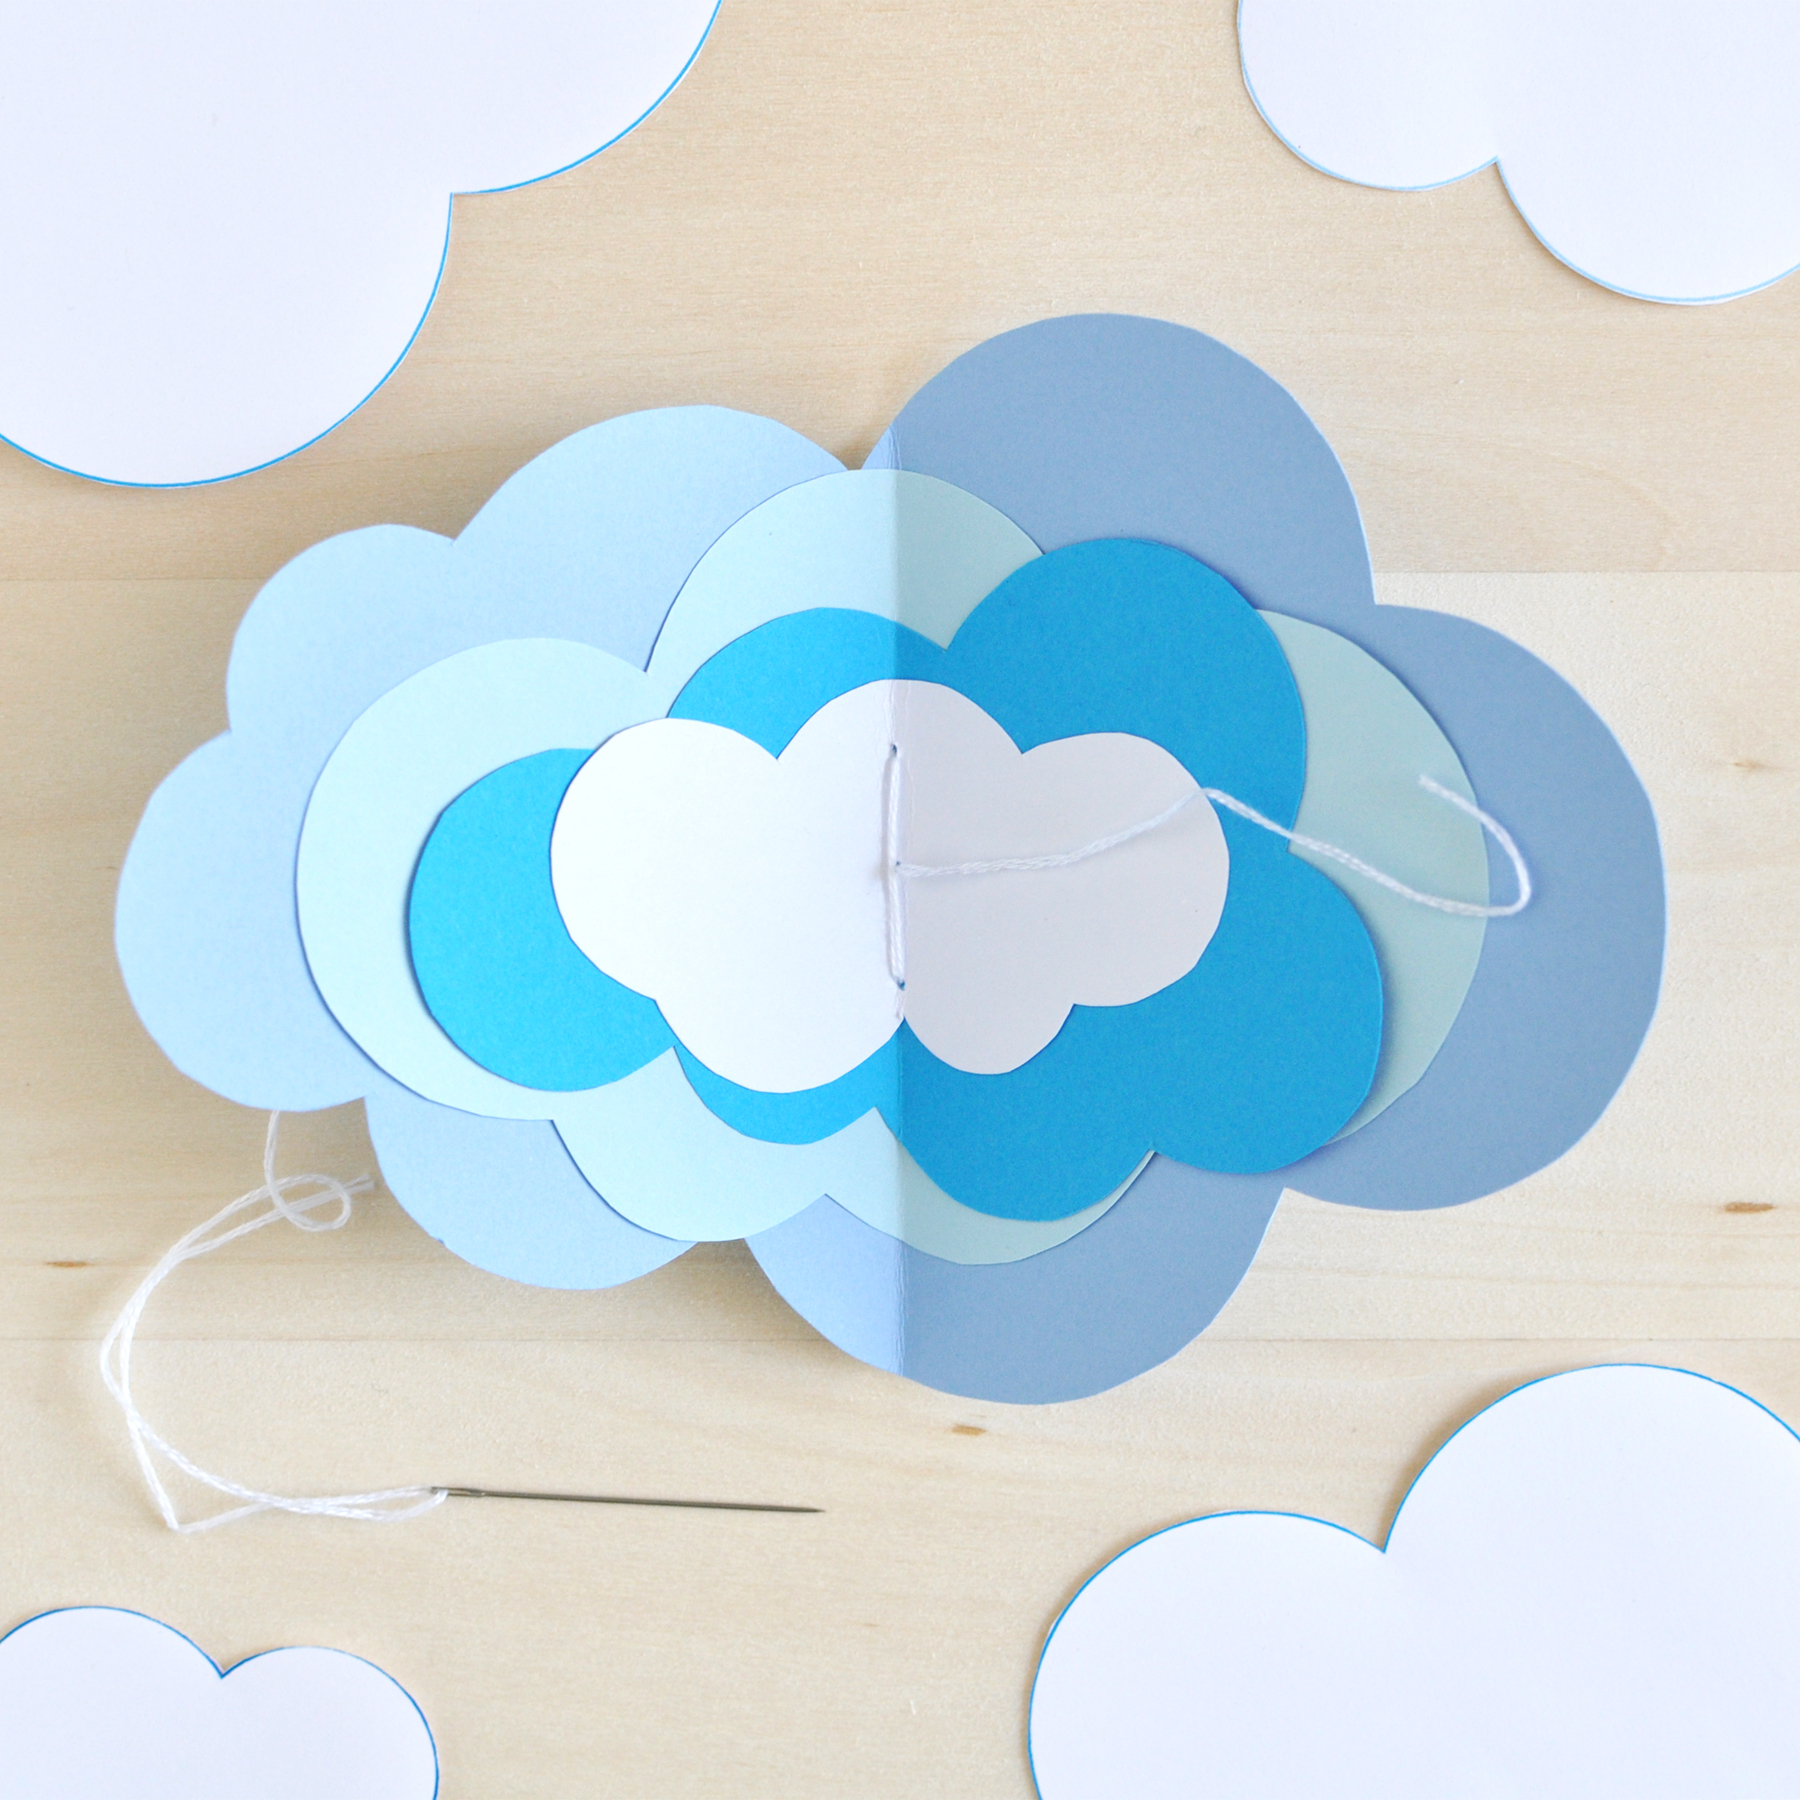
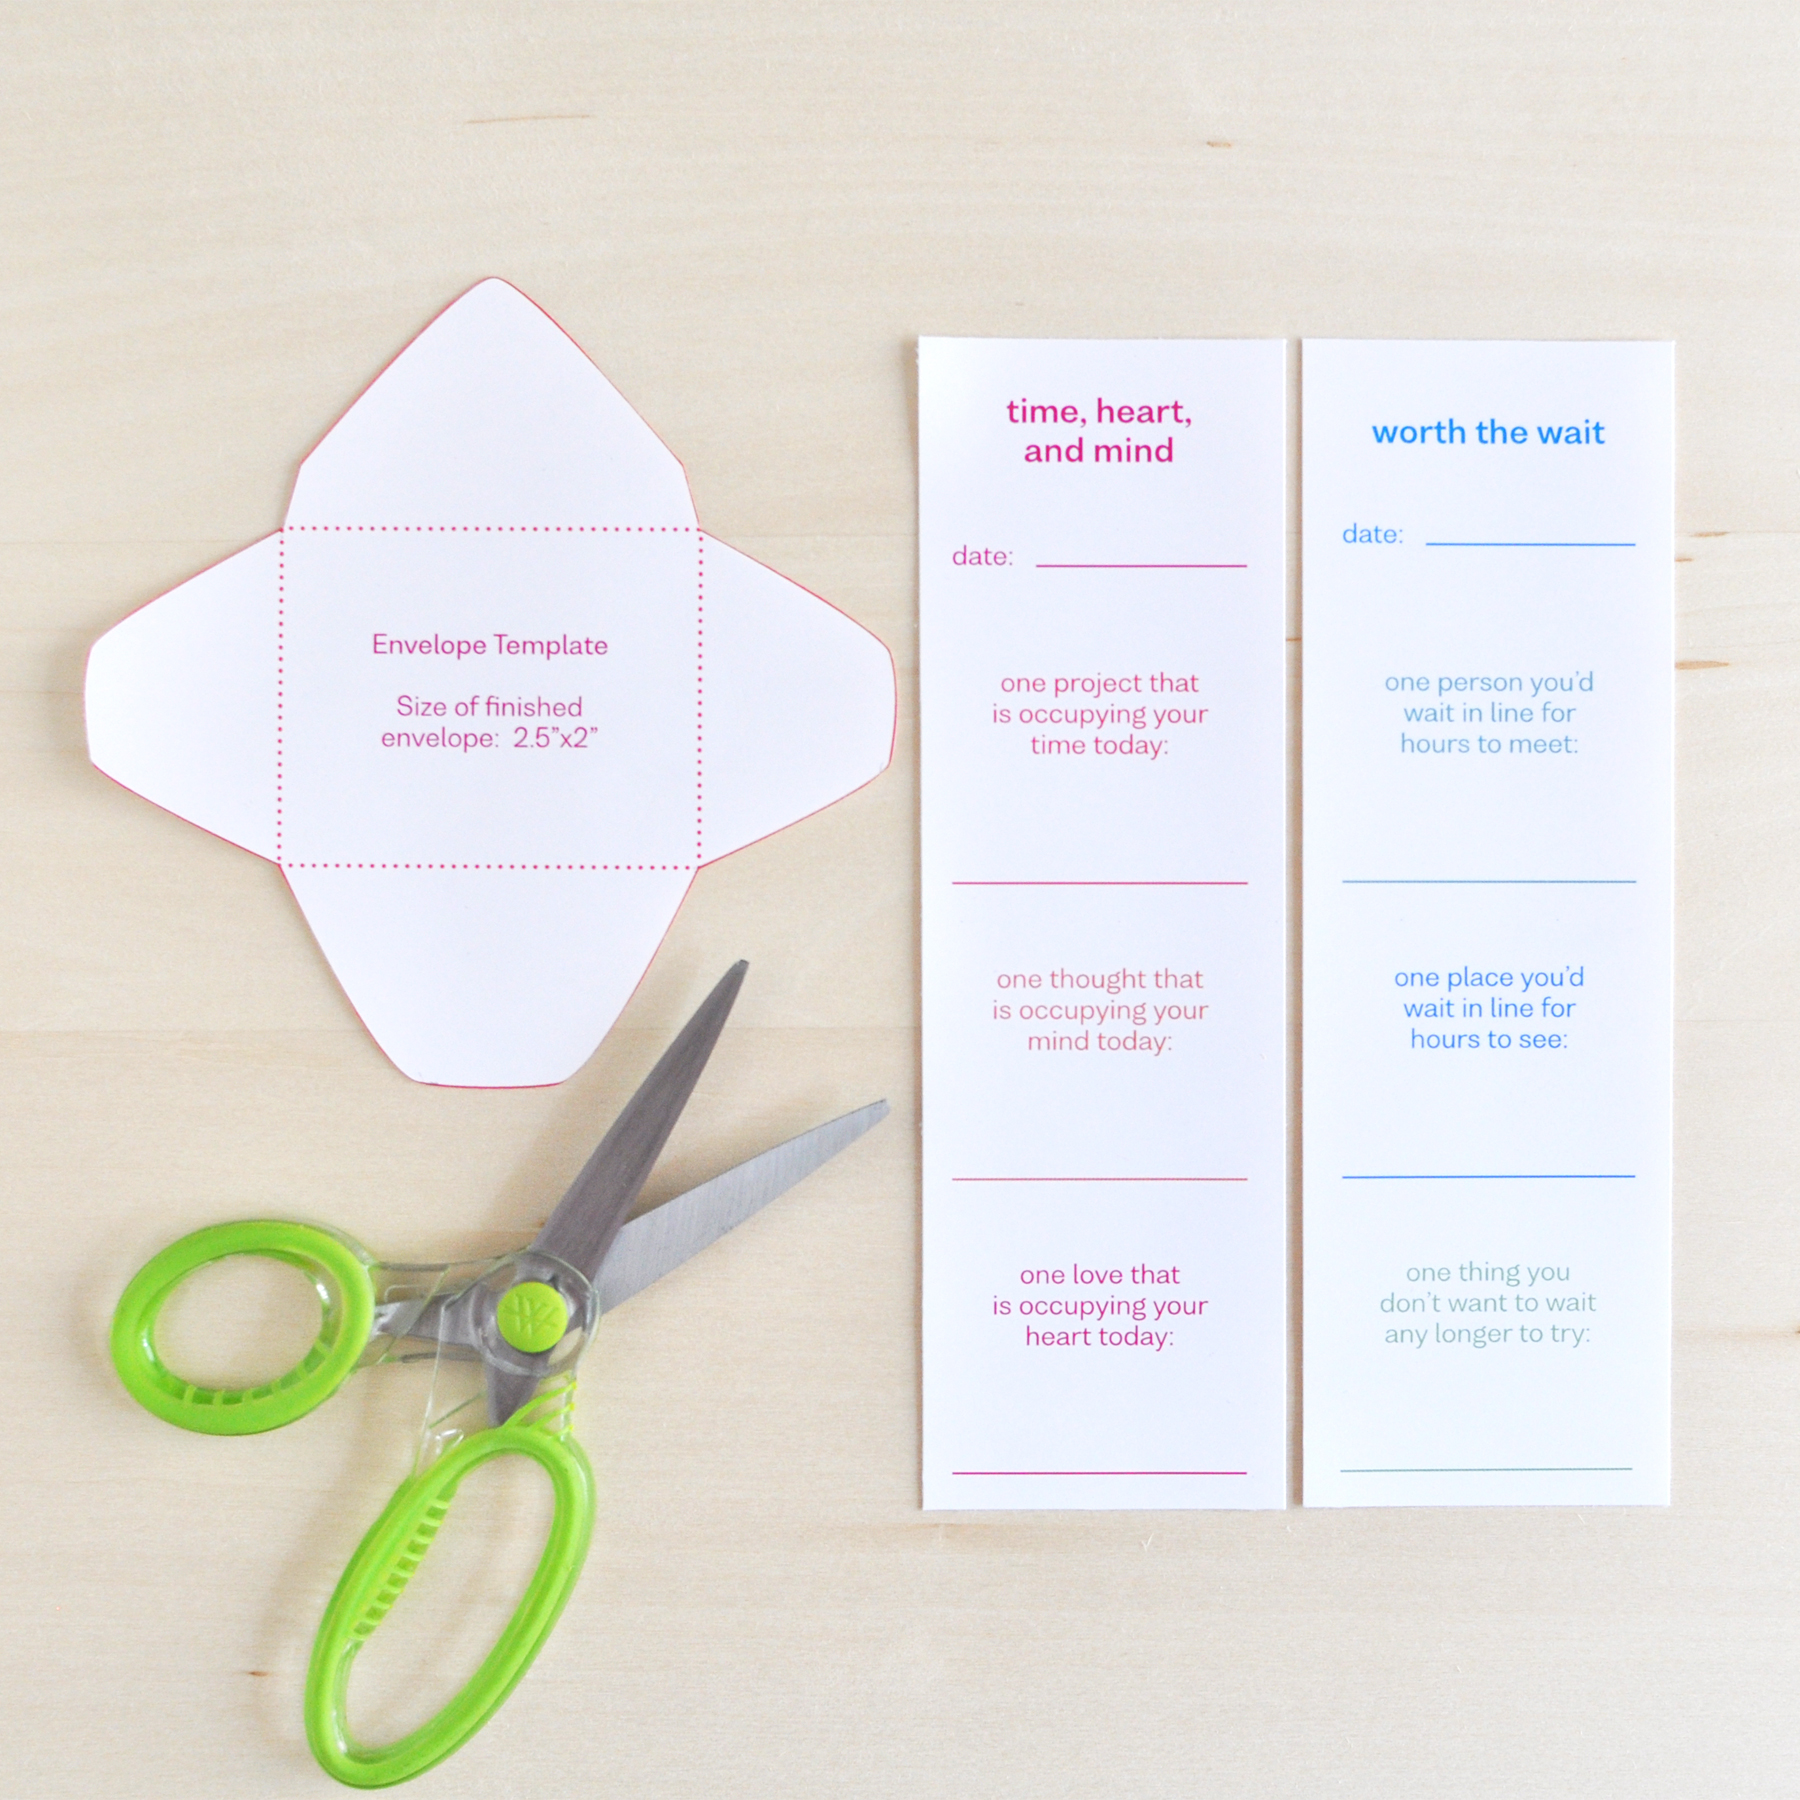
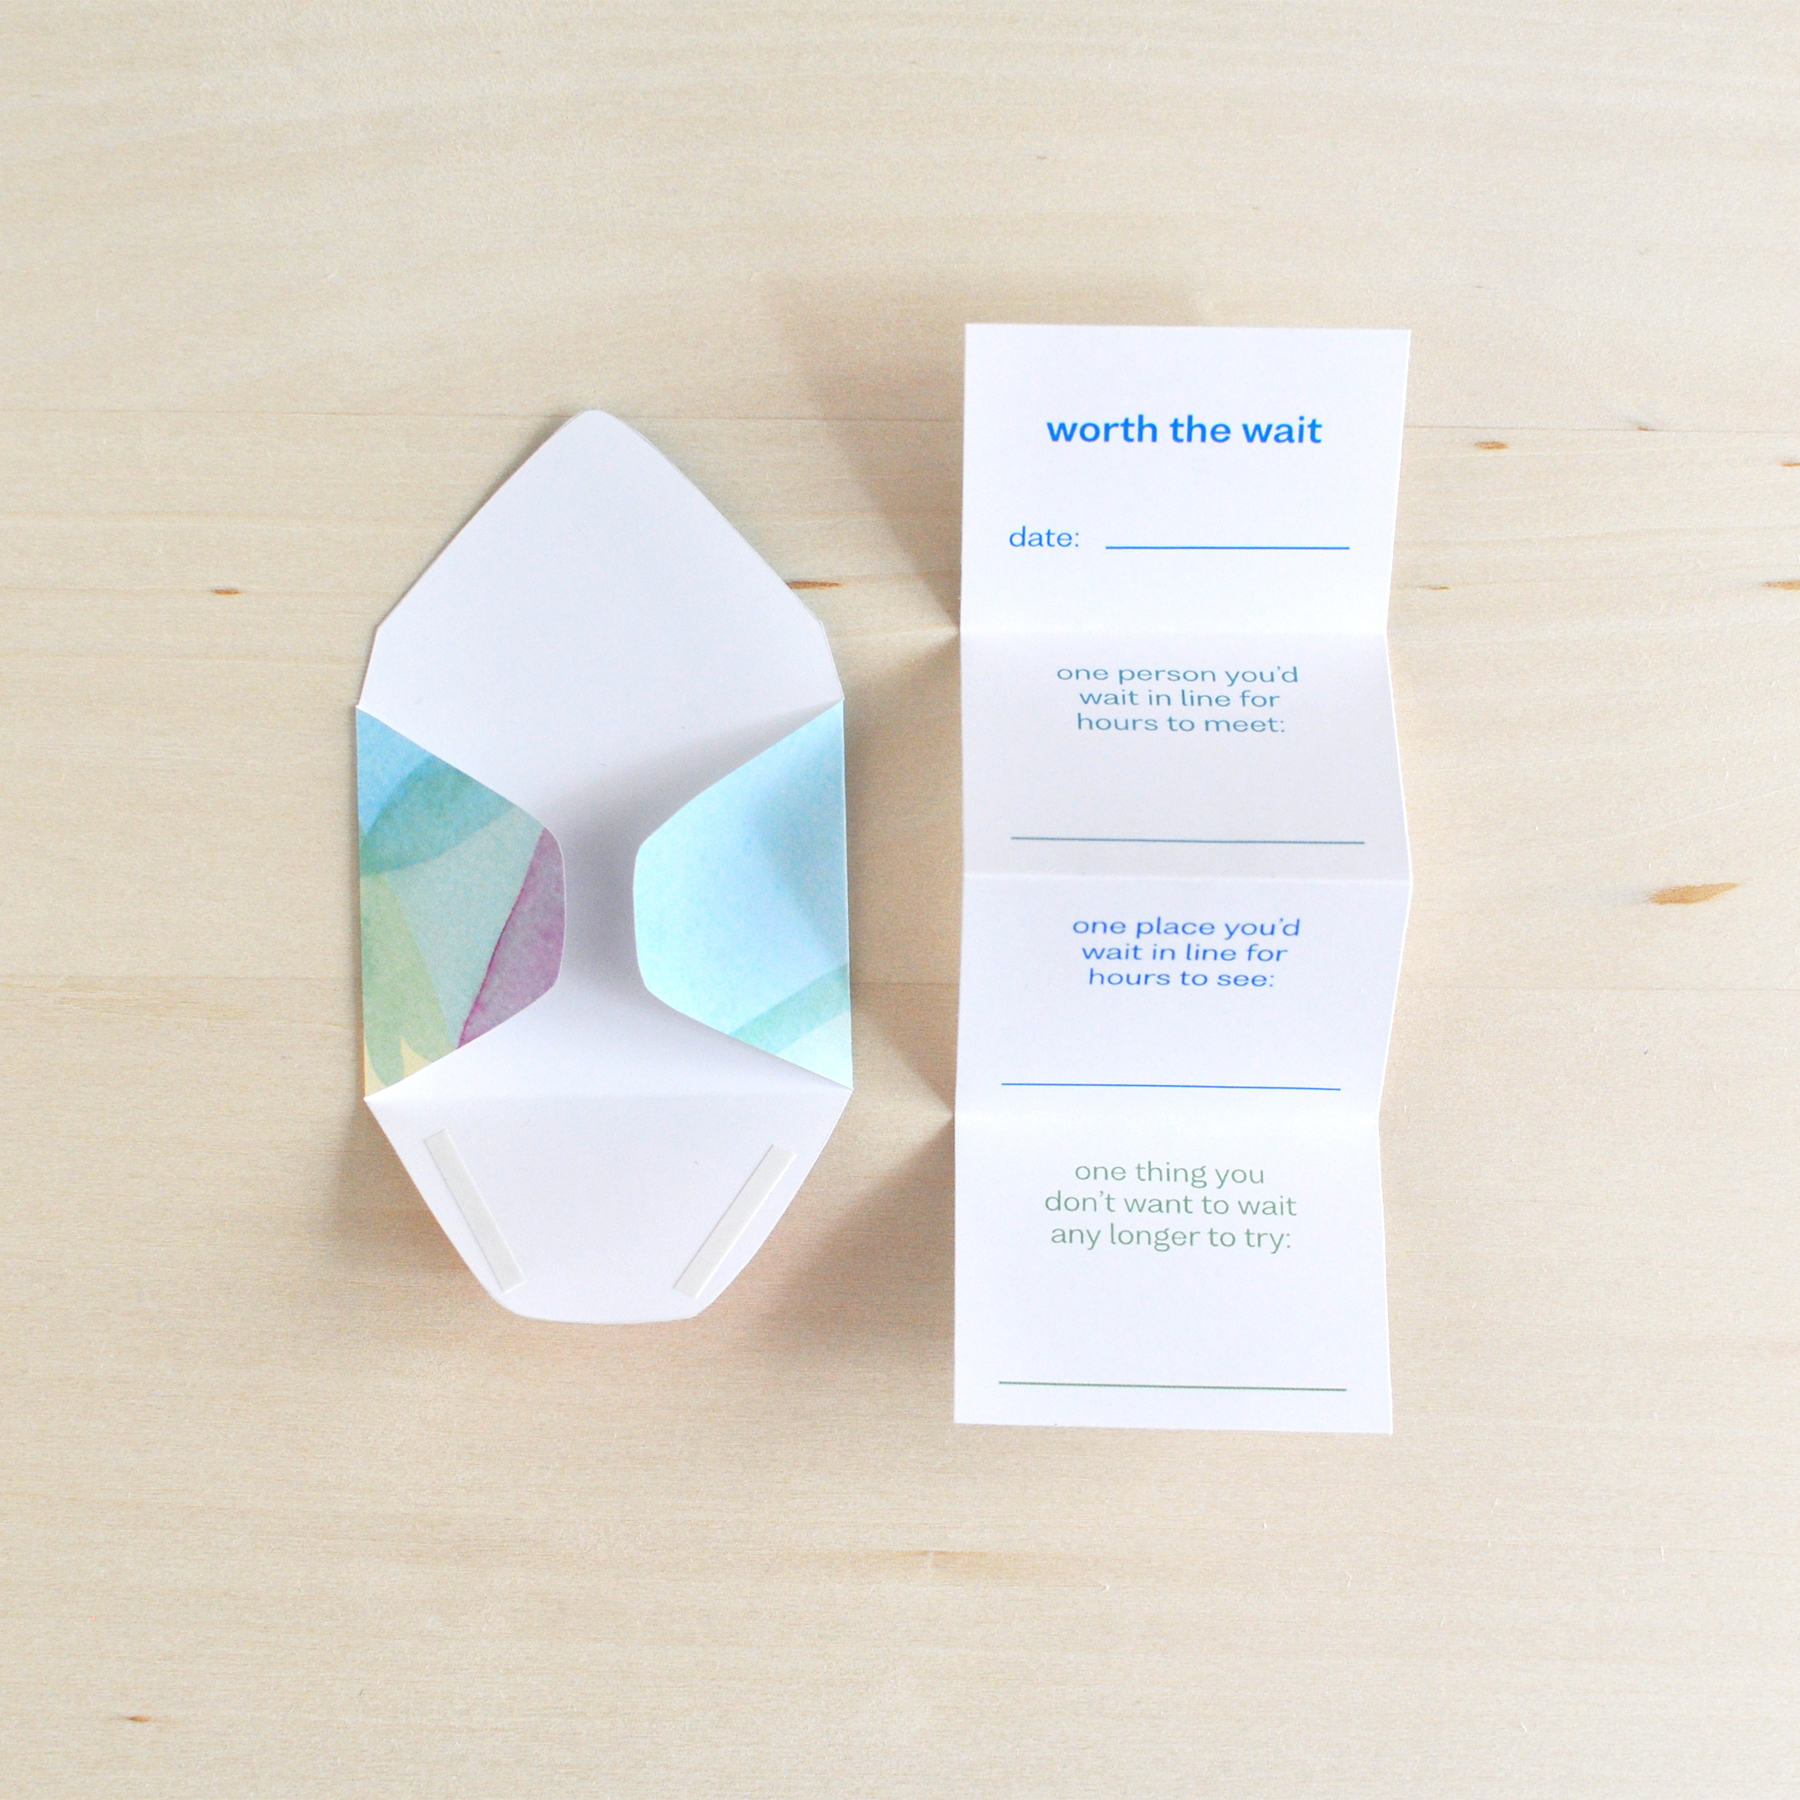
But everything about it makes me smile — the cloud-shaped pages, the blue on blue on blue, and the lovely little bow right in the middle. It’s good for sky’s-the-limit brainstorming and head-in-the-clouds musings. It’s also suitable for noting gratitude, good things, and madcap adventures. (I’ve even done a little something with it that you might not expect. I’ll show you in just a moment.)

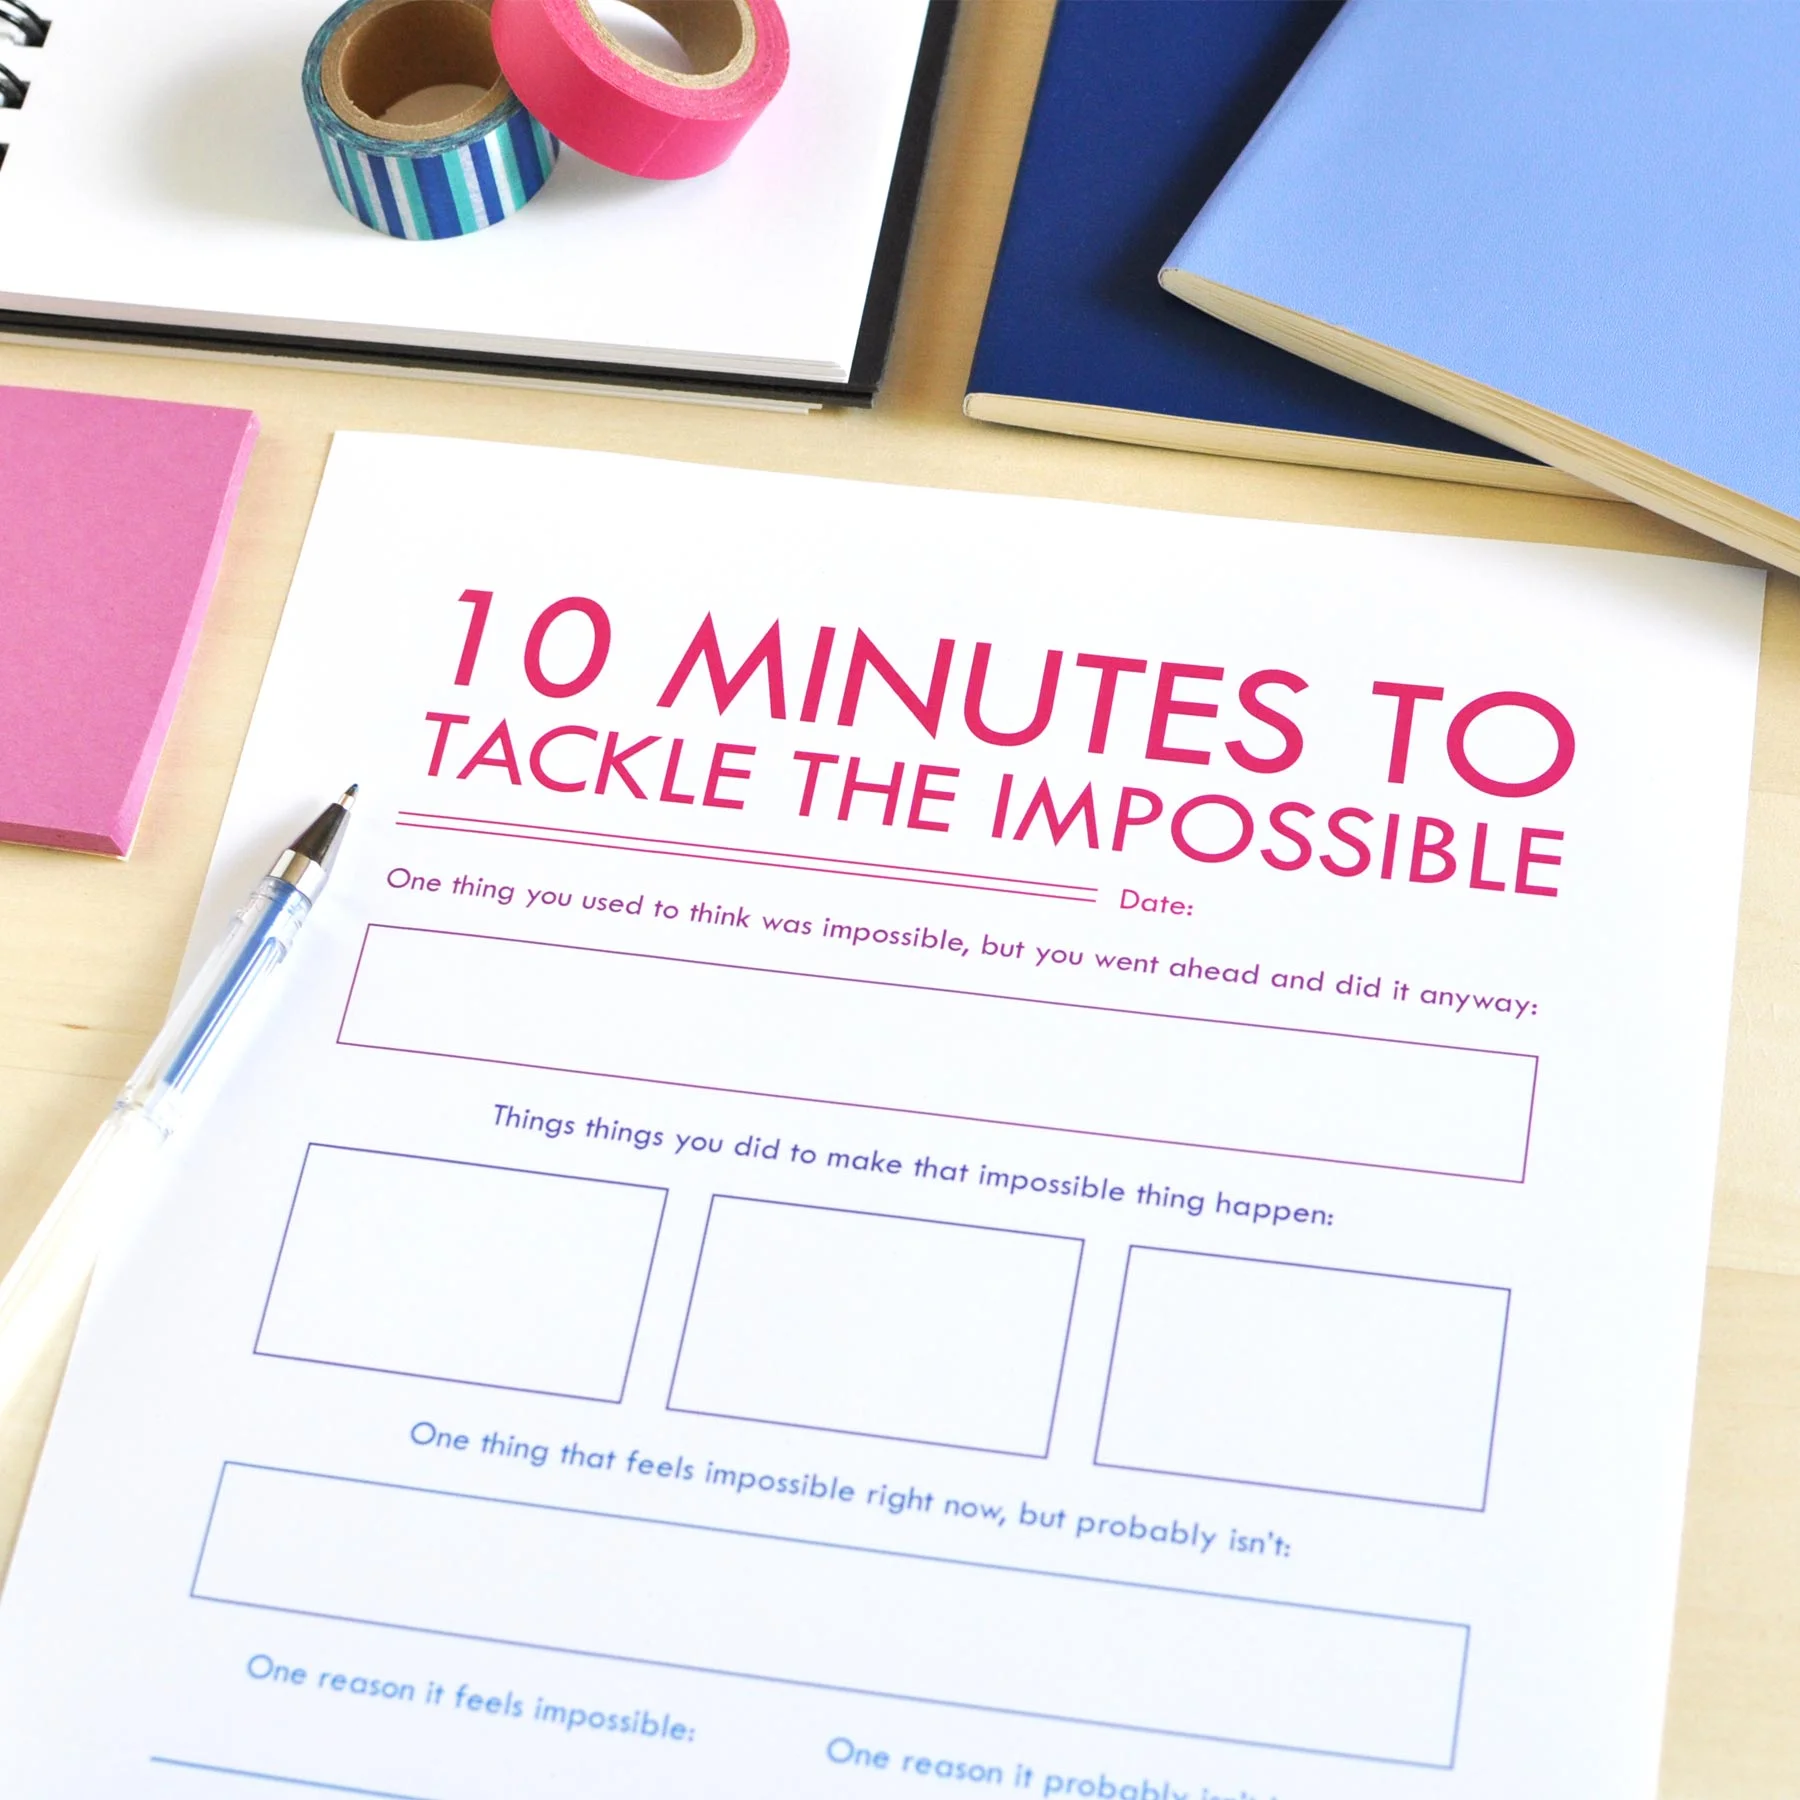
If you’d like to make your own cloud journal, I’ve whipped up a quick printable and tutorial for you — for moments when you’re feeling a little impractical or un-sensible and a regular rectangular journal just won’t do.

To begin, you’ll find my mini cloud journal template right here or by clicking on the image above or below. (The file includes two page sizes. The first page is letter sized. The second page is A4.)

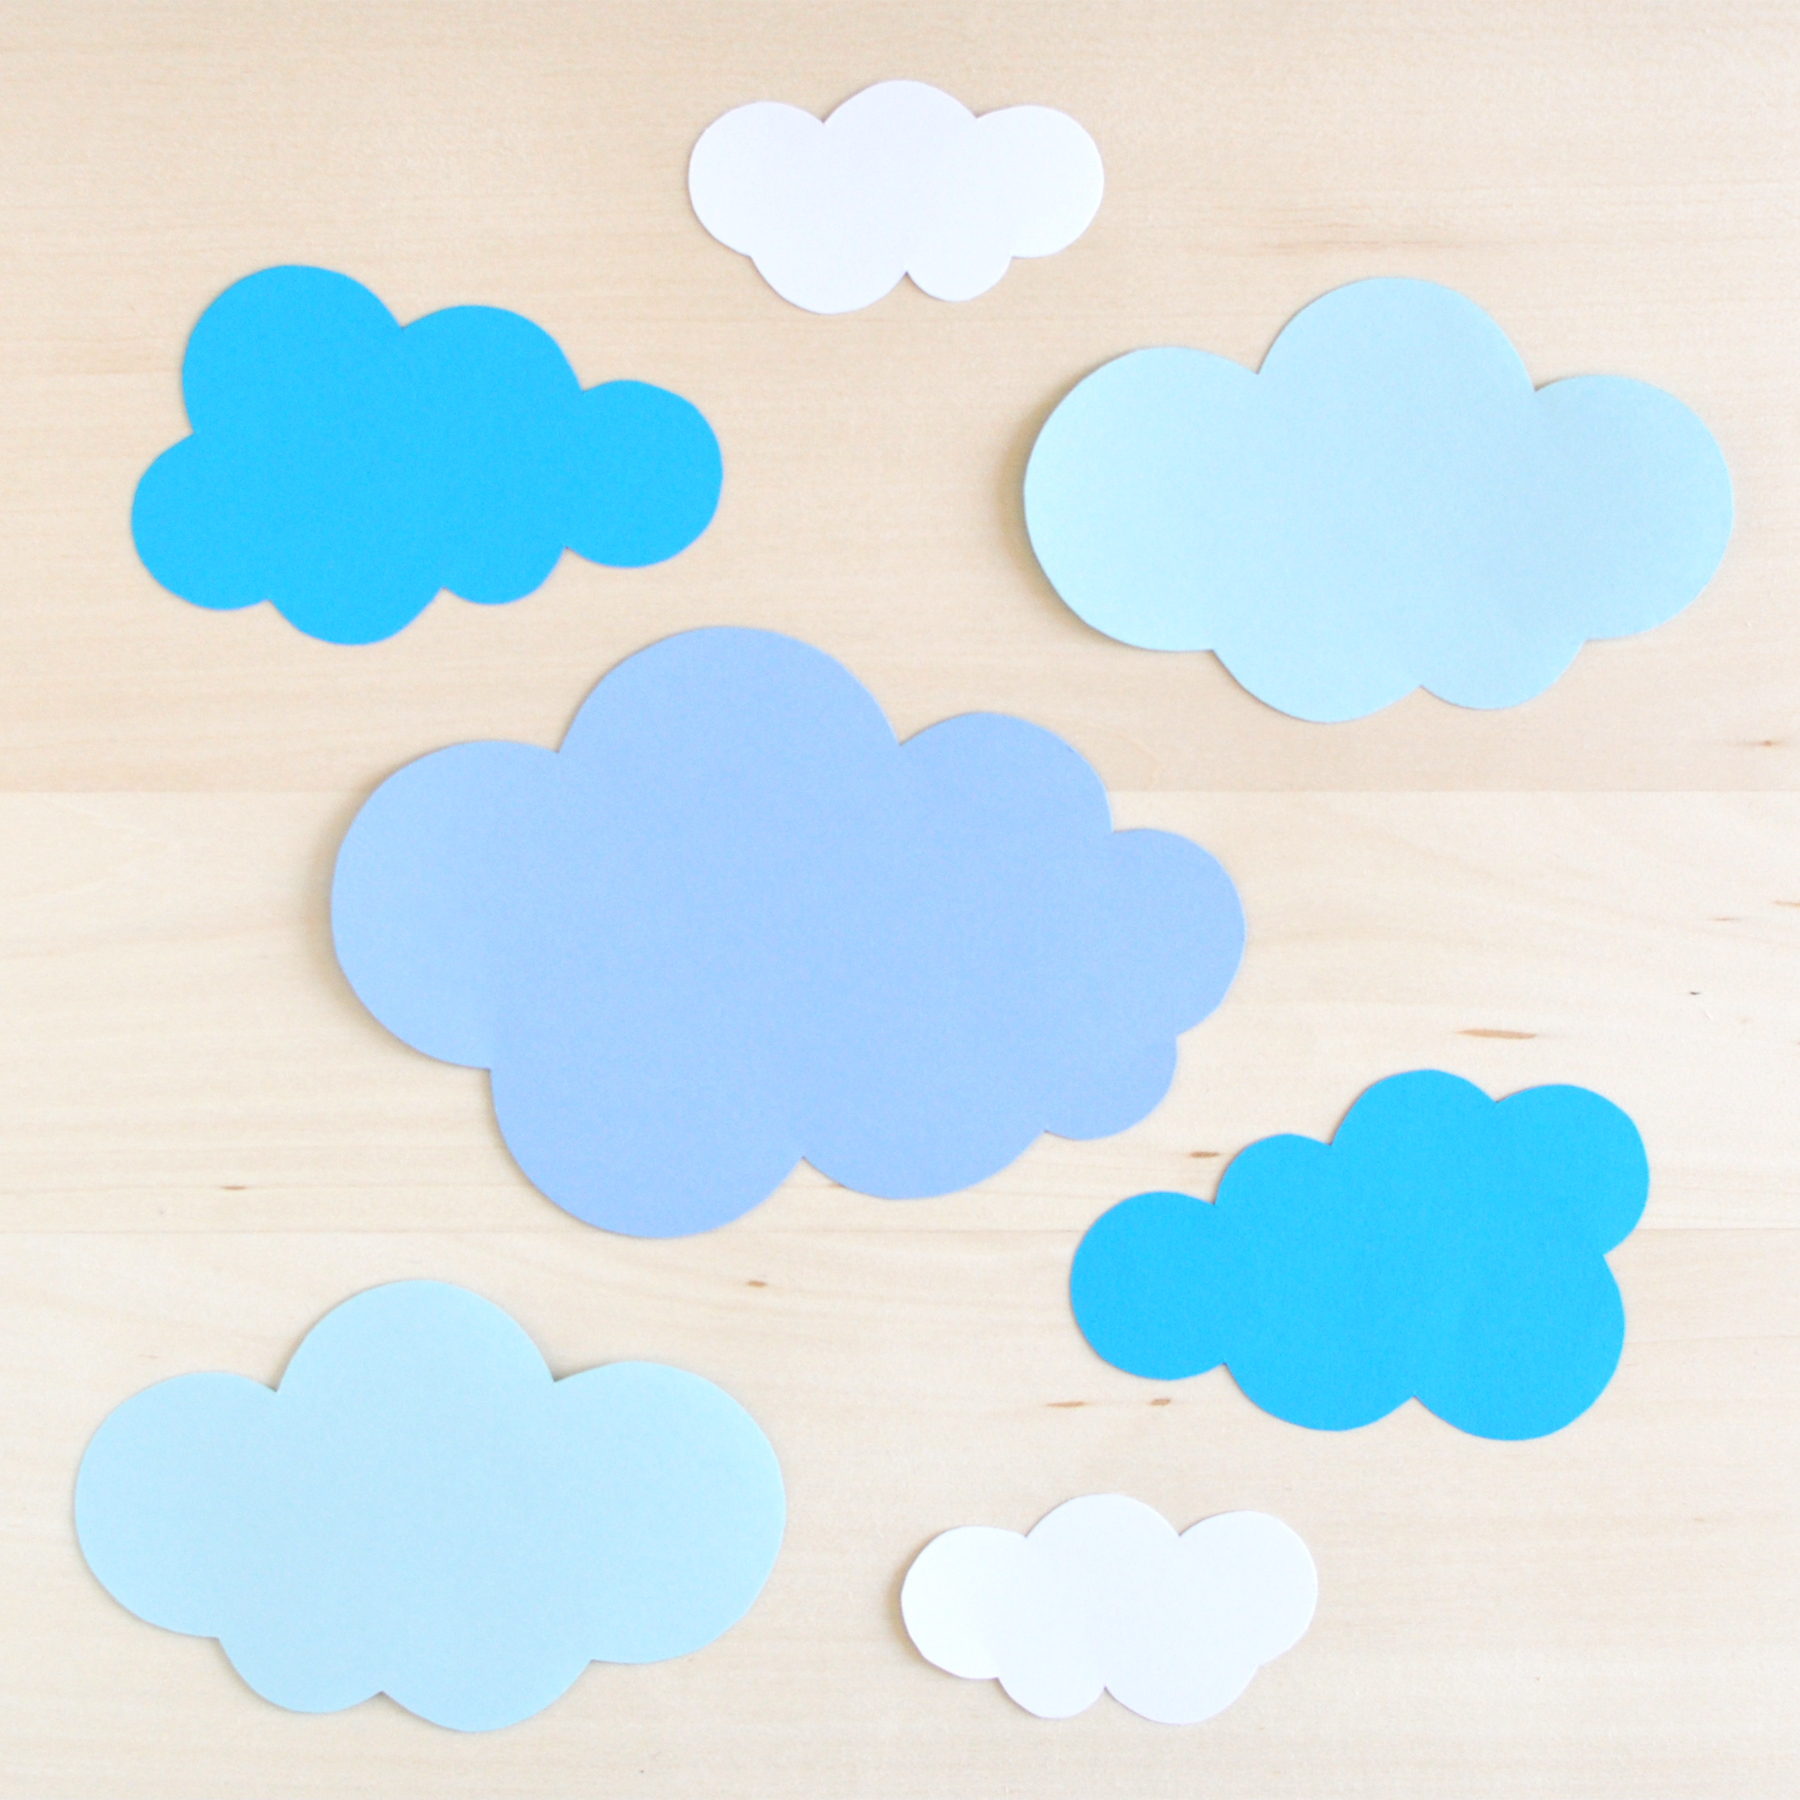
You’ll also need extra paper to make your cloud pages, a pencil, scissors, something pointy for poking holes (I forgot to include my little sewing awl in the image below, but you’ll see it further down), a sewing needle, and about a 6-8 inch length of thread (I used embroidery floss).

Start by cutting out the cloud templates (image below, left) and tracing them onto your selected cloud paper. I cut out one of the largest clouds and two of each of the remaining clouds (image below, right).

Here’s the unexpected part. After folding each cloud in half individually — I just eyeballed the halfway point and went for it — I arranged the clouds from largest to smallest on the inside of the journal (image below, left), then did the same on the outside (image below, right), so that the largest cloud is the fourth cloud in a stack of seven. This way, there are tiny clouds on the inside and outside of the journal.

Now it’s time to poke the holes and sew the journal together. The red handled item pictured below is the awl I used to make the holes. Again, I estimated a nice middle spot and poked the first hole, then one more above and below (image below, top left).

To sew the binding:

  1. Holding the journal open in front of you, pass your needle and thread through the front middle hole, leaving a tail that you’ll later use to tie a small knot and bow. (image below, top right).

  2. From the back of the journal, pass the needle through the top hole to the front of the journal and then down, through the bottom hole, to the back of the journal. Make sure your tail is to one side of the long stitch you’ve just made (image below, bottom left).

  3. From the back, pass your needle back through the middle hole, this time coming through the front on the side of your long stitch opposite to the tail (image below, bottom right).

Separate your needle from the thread and tie a knot in your thread on top of the long stitch in your journal’s binding. Then tie a lovely little bow and snip the ends of the thread.

That’s it! You’re finished!

I hope your time spent in the clouds while making this little journal inspires all sorts of new sky’s-the-limit adventures.

As always, best wishes and happy journaling!

Make-Your-Own-Mini-Cloud-Journal---Image1.jpg
 

Printable mini guided journal and envelope template

Mini-Accordion-Journals-and-Envelope-Template-Image-8.jpg

I’ve had such fun creating an ever-growing collection of handmade envelopes with mini accordion journals tucked inside! I thought you might want to give it a try, too, so I’ve created a new, free printable page and a quick tutorial to get you started.

If you’d like to create your own mini accordion journals and envelopes, start by downloading and printing my mini envelope and journal template. (The file includes two page sizes. The first page is letter sized. The second page is A4.) You’ll also need a pencil, scissors, tape or glue, and extra paper for making your envelopes.

Begin by cutting out the envelope template and mini journals. For the mini journals, I like to cut just inside the dashed lines so they don’t appear on the journals.

Mini-Accordion-Journals-and-Envelope-Template-Image-2.jpg

Next, trace the outline of your envelope template onto the back of your chosen paper and cut it out. I’m making two envelopes, one for each mini journal.

Mini-Accordion-Journals-and-Envelope-Template-Image-3.jpg

Now for the folding. With your envelope paper face down, fold the side tabs in toward the center using the dotted lines on the envelope template as a guide.

For the mini journals, I like to start by folding them in half, so that the top and bottom meet and the words are on the outside of the fold.

Fold the envelope bottoms up and over the side tabs, again using the dotted line in the envelope template as a guide, and apply glue or tape to attach the bottom to the sides. Then fold down the envelope top.

For the mini journals, fold the tops and bottoms in half again so that they meet up with the centre fold.

Insert your folded journals into your new envelopes and you’re finished!

Mini-Accordion-Journals-and-Envelope-Template-Image-6.jpg

You can record your answers to the prompts now and attach your envelopes to your journal or you can tuck your envelopes into a tote or backpack for a little journaling on the go.

Mini-Accordion-Journals-and-Envelope-Template-Image-7.jpg

I hope you’ll love this little journal project. If you’d like to try making more envelopes of different sizes and shapes and more mini journals, I’ve also posted a brand new printable handmade journal and envelope kit in the shop.

As always, happy journaling, friends!


And then some

17-04-2019-Mary-Oliver-Quote-a.jpg

“Let me be who I am, and then some,” wrote Mary Oliver in her essay Building the House. (From Upstream, 2016, p. 164.)

Imagine that. Going all in on who you are. Even the parts you might sometimes hold back or worry are just a little too much for public consumption.

My “and then some” might be more experiments with uncertain outcomes, more eye contact, more idealistic enthusiasm (or would it be enthusiastic idealism? I’m not sure.)

What is your “and then some”?


New emergency journal pages ... for the bumps in the road

There was a long afternoon, not too long ago, when I was thinking of giving up on one of my dreams. This guided journaling dream right here, actually.

While I was giving it a good mulling over, another thought came to mind instead: what if there was a journal page for moments just like this? An emergency journal page that tackled the scary and discouraging and worrying stuff head on. A journal page with lots of colours and lots of prompts that was right there with you in the moment, reminding you that this was just another bump in the road and that you are strong enough and smart enough anyway to make it over and beyond it — and the next one, too.

Long story short, instead of giving up on one of my dreams, there’s a new set of journal pages in the shop. The first one is free for you to try — from my resilient, dreaming heart to yours.


New journal pages on the way

25-03-2019-Emergency-Journal-Pages-by-Christie-Zimmer.jpg

Putting the finishing touches on a new set of journal pages. These ones are for the bumps in the road. I am convinced that journaling in these moments helps us see through them and beyond them; it helps us reconnect with our better, wiser, and more hopeful selves. Looking forward to sharing more later this week.


What/who are you admiring today?

It’s March! Time to start a new journal calendar page and I can’t wait!

Today’s prompt is “admired.” Lately, I’ve been admiring kindness. I’m seeing examples all over the place — at home, in my community, in my inbox, out in the world. I think I’ll write a lovely little list of kindnesses I’ve encountered or observed recently.

How about you? What/who are you admiring today?


Reverse engineer your day - new 10-minute journal pages!

A couple of weeks ago, I wrote about reverse engineering your day — starting with the way you’d like your day to end and working your way backward from there to figure out how you’ll make it happen.

Since then, I’ve been working on turning that idea into a new set of 10-Minute printable journal pages. I’ve just posted them all in my shop and this first one (in the photo above) is free! If you’d like to give it a try, just click on the photo above or right here to download it.

The rest of the pages in the set take the idea even further — from a page dedicated to thinking about how you’d like to feel at the end of the day to a page for testing out one of your new ideas by day’s end. I hope you’ll love them all!